No-Carve Painted Pumpkins for Halloween
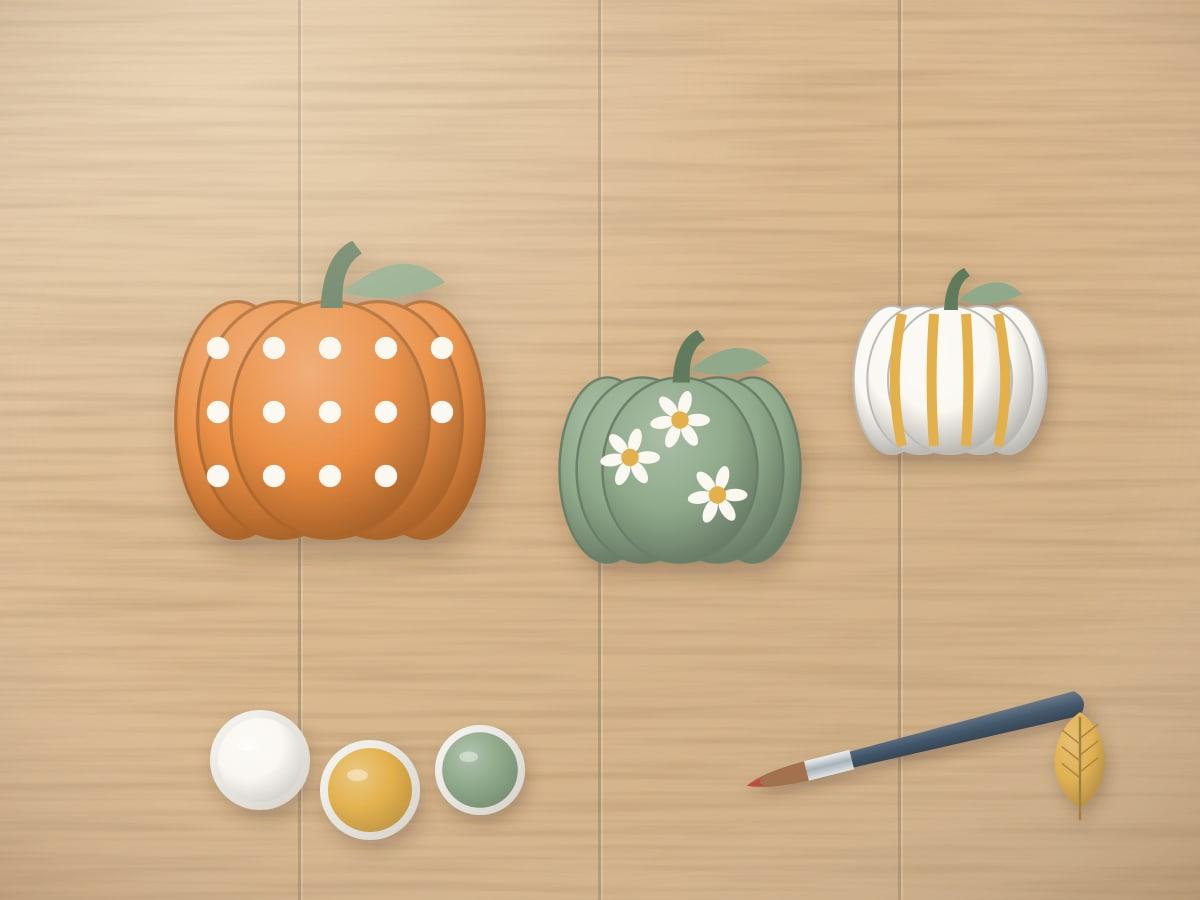
Painted pumpkins are a cleaner, safer alternative to carving. They last much longer because the skin isn't cut, and the designs can be as simple as polka dots or as detailed as you like.
Published · 1 min read
- Difficulty
- Beginner
- Crafting time
- 1 hour plus drying
- Estimated cost
- $10–$25
Table of contents
Choosing pumpkins
Look for pumpkins with smooth skin, no soft spots and a sturdy stem. Small pie pumpkins are perfect for kids; larger ones give more room for patterns.
Preparing the surface
Wipe each pumpkin with a damp cloth and let it dry completely before painting so the paint sticks well.
shopping list ✓
Materials and supplies
Tick items off as you gather them.
tools you'll need
- Foam brushes and small detail brushes
- Pencil erasers or cotton swabs for dots
- Paper plates for paint
let's make it!
Step-by-step instructions
Step 1: Clean and dry
Wipe the pumpkin clean and let it dry for 15 minutes.
Step 2: Paint a base coat
Paint the whole pumpkin in a base color with a foam brush, or leave it natural orange. Let it dry for 30 minutes and add a second coat if needed.
Step 3: Tape stripes (optional)
Run painter's tape from stem to base for crisp vertical stripes. Paint between the tape and peel it off while the paint is still slightly wet.
Step 4: Add dots and details
Dip a pencil eraser or cotton swab in paint and stamp dots in rows or clusters. Use a detail brush for leaves, vines or faces.
Step 5: Seal for outdoors
If your pumpkins will sit outside, finish with a clear matte sealer once the paint is fully dry.
pro tips!
Helpful craft tips
- Keep painted pumpkins out of direct rain and frost so they last longer.
- Faux pumpkins can be repainted every year.
Variations to try
- Metallic stems: paint stems gold or copper.
- Chalkboard pumpkin: use chalkboard paint and write a message.
Safety tips
Use non-toxic paint with children and apply spray sealers outdoors, away from kids.
Frequently asked questions
How long do painted pumpkins last?
Uncarved pumpkins often last several weeks or more in a cool, dry place, much longer than carved pumpkins.
What paint sticks to pumpkins?
Acrylic craft paint adheres well to a clean, dry pumpkin. A clear sealer improves durability outdoors.
Keep crafting
Related craft projects
 Beginner
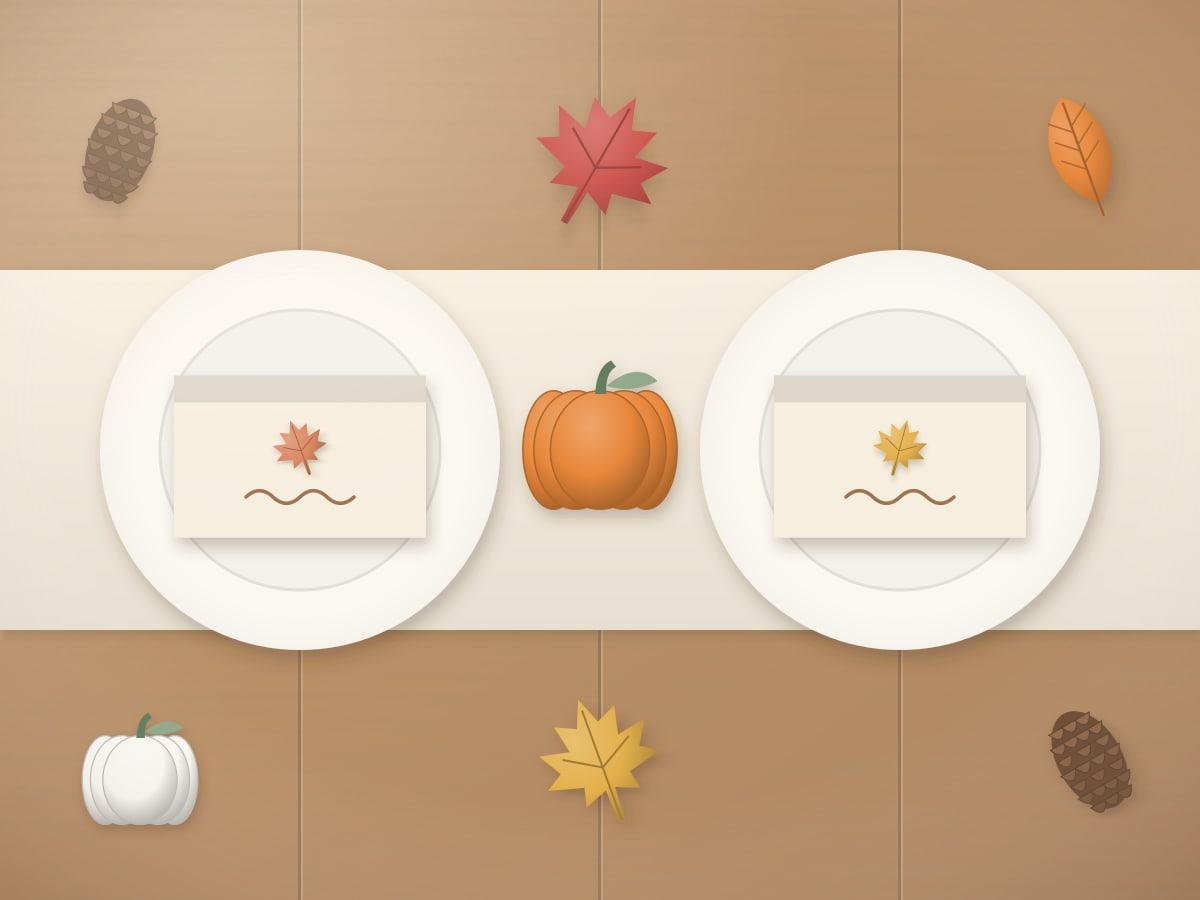
Thanksgiving Leaf Place Cards
Make simple Thanksgiving place cards with folded cardstock and real or paper leaves. A calm, natural touch for your holiday table.
30 minutes1 min read
 Easy
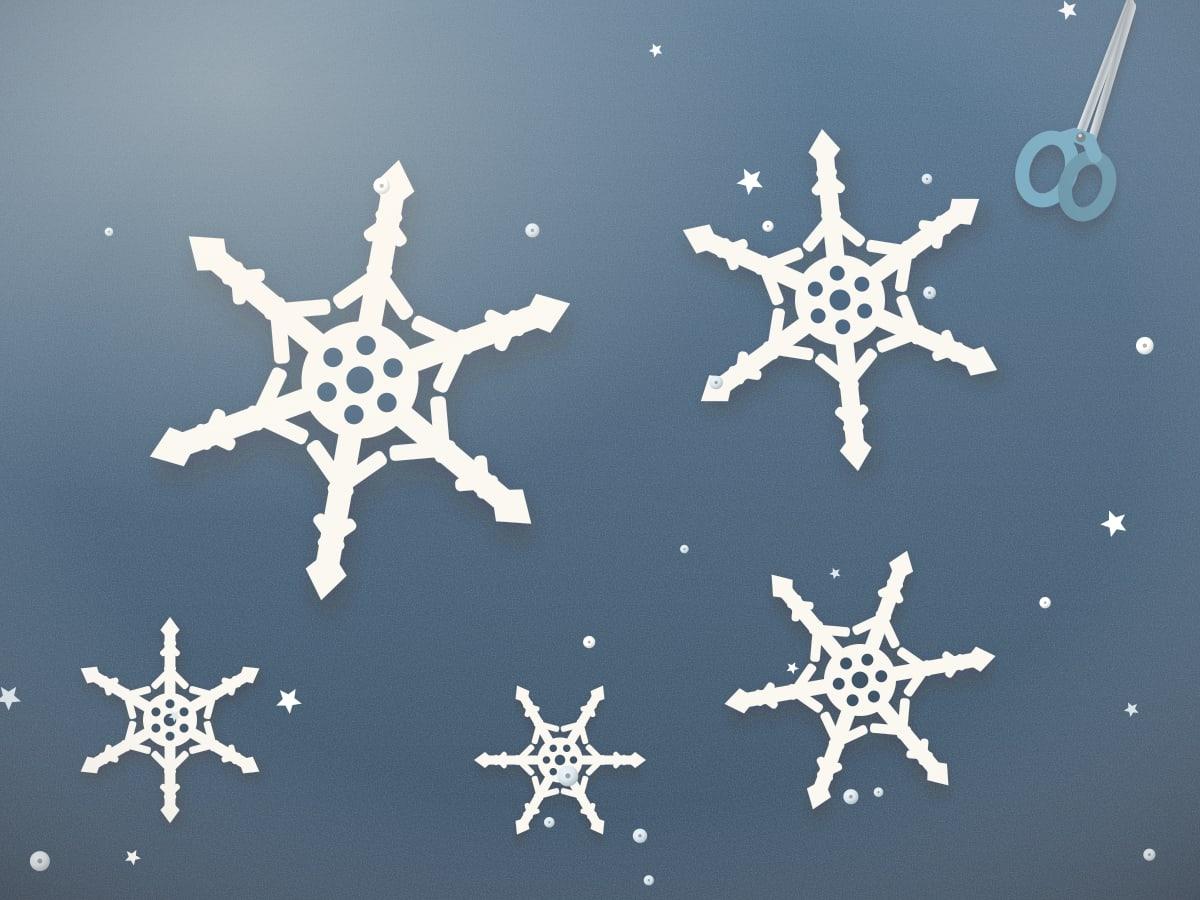
Paper Snowflake Christmas Ornaments
Fold and cut six-sided paper snowflakes, then stiffen them into ornaments for the tree or windows. Includes cutting patterns for beginners.
30 minutes1 min read
 Beginner
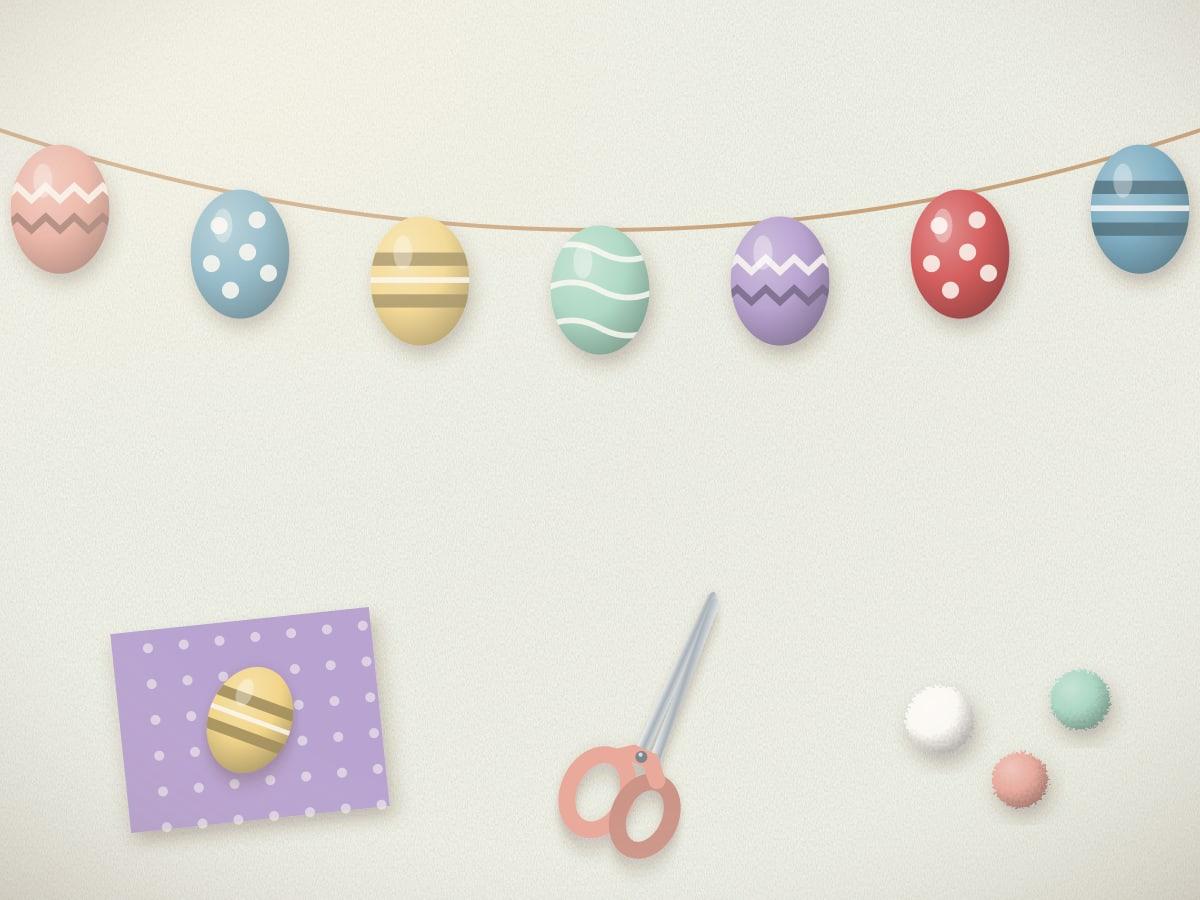
Easter Egg Paper Garland
Cut patterned paper eggs and string them into a cheerful Easter garland. An easy spring decoration for mantels and classrooms.
45 minutes1 min read
a little craft mail ✉
Get Creative With Us
Discover simple craft ideas and creative projects delivered to your inbox.
Send ideas to:
No spam. Unsubscribe anytime. See our Privacy Policy.