DIY Pressed Leaf Wall Art
Pressed leaves turn into surprisingly elegant wall art. All you need is a heavy book, a few days of patience and a simple frame. This tutorial covers collecting, pressing and arranging leaves for a clean, botanical look.
Published · 1 min read
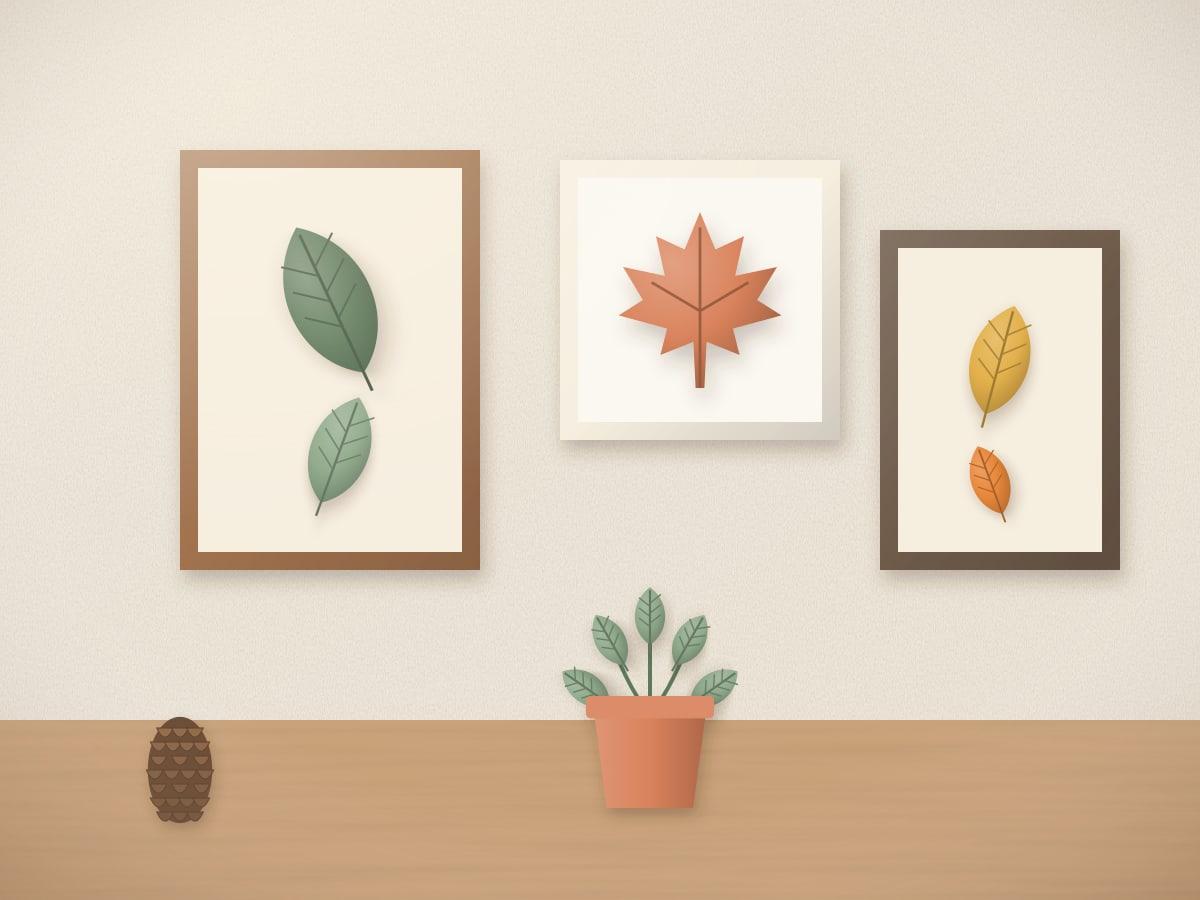
- Difficulty
- Easy
- Crafting time
- 1 hour (plus 1–2 weeks pressing)
- Estimated cost
- $10–$20
Table of contents
Collecting leaves
Pick leaves that are flat, dry and free of holes. Collect a few more than you need, as some will curl or tear while drying. Only collect from your own yard, public spaces where it's allowed, or with permission.
Pressing time
Most leaves are ready in 7–10 days. Thicker leaves can take up to two weeks.
shopping list ✓
Materials and supplies
Tick items off as you gather them.
tools you'll need
- Heavy books
- Tweezers
- Small paintbrush
let's make it!
Step-by-step instructions
Step 1: Press the leaves
Place leaves between two sheets of parchment and slip them inside a heavy book. Stack more books on top and leave them for 7–10 days without peeking too often.
Step 2: Plan the layout
Lay the background paper inside the frame and arrange the leaves without glue. Try a single centered leaf, a neat grid, or a loose diagonal line.
Step 3: Glue the leaves
Using tweezers, lift each leaf and apply tiny dots of glue to the back with a small brush. Press it gently into place.
Step 4: Frame it
Let the glue dry for 30 minutes, then clean the glass, place it over the arrangement and close the frame.
pro tips!
Helpful craft tips
- Ferns, ginkgo and maple leaves press especially well.
- Hang pressed art out of direct sunlight to slow fading.
Variations to try
- Floating frame: sandwich leaves between two panes of glass for a see-through look.
- Seasonal set: make three frames with spring, summer and autumn leaves.
Safety tips
Wash your hands after handling plants and avoid collecting unknown plants such as poison ivy.
Frequently asked questions
How long do pressed leaves last?
Kept behind glass and out of direct sun, pressed leaves can keep their shape for years, though colors gradually soften.
Can I press leaves in the microwave?
There are microwave flower presses, but the slow book method is safer and gives flatter results for beginners.
Keep crafting
Related craft projects
 Beginner
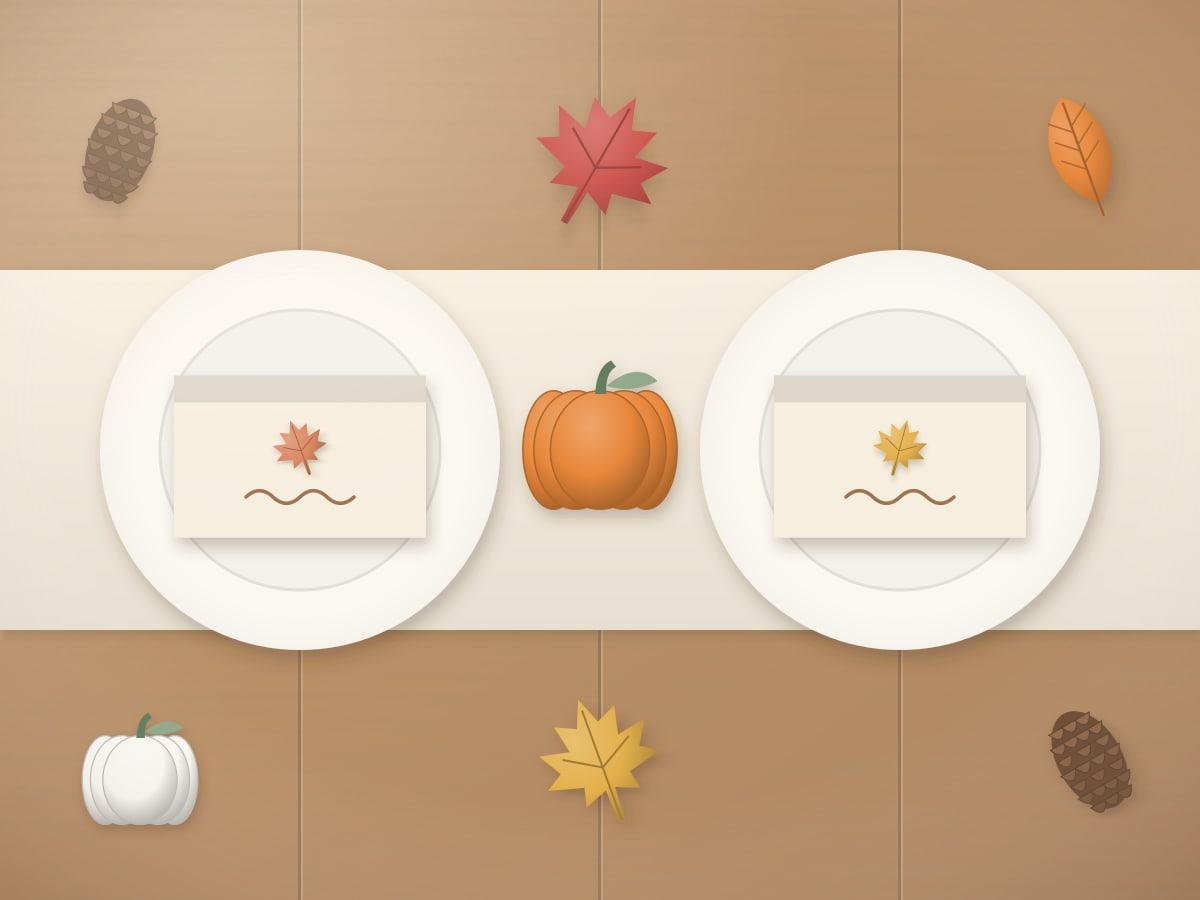
Thanksgiving Leaf Place Cards
Make simple Thanksgiving place cards with folded cardstock and real or paper leaves. A calm, natural touch for your holiday table.
30 minutes1 min read
 Easy
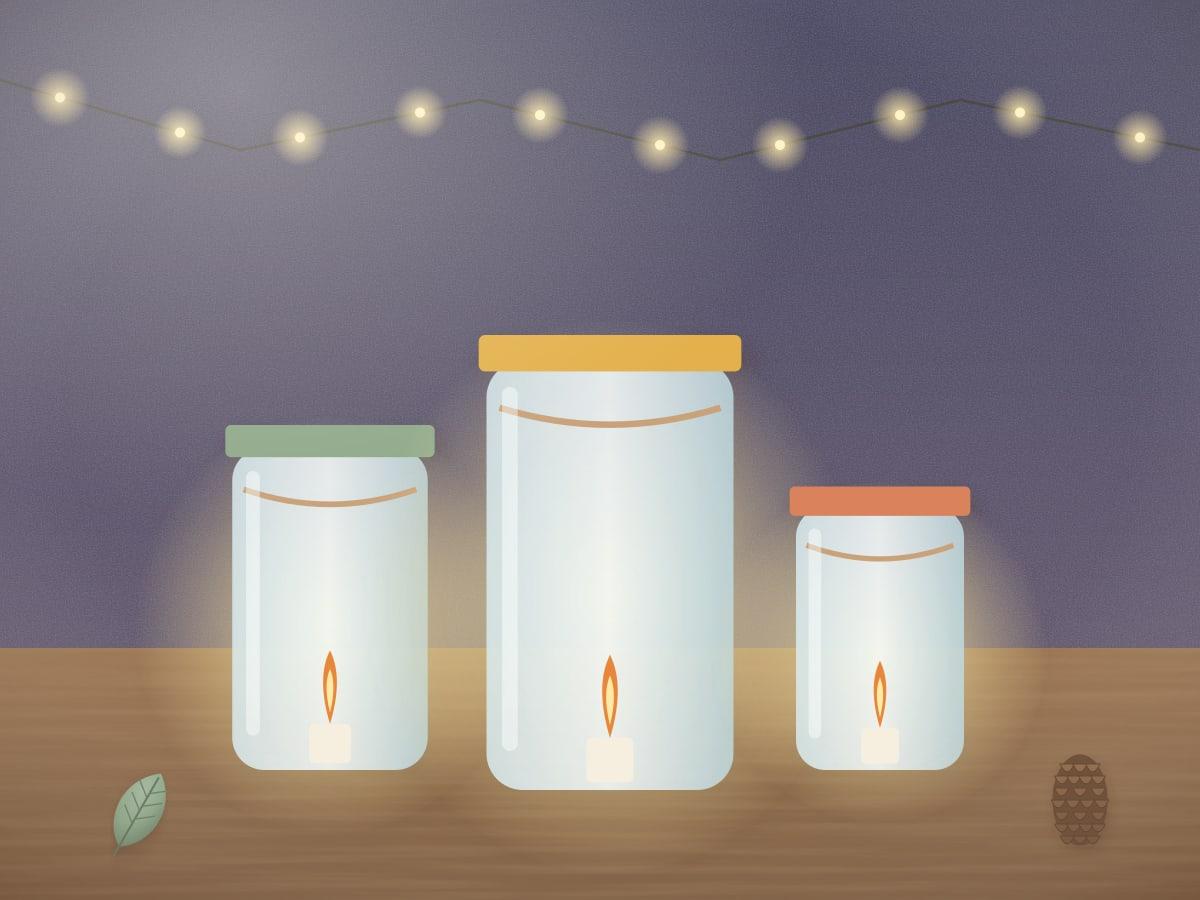
Mason Jar Lanterns from Recycled Glass Jars
Turn empty glass jars into warm hanging lanterns with wire, twine and a battery tea light. A simple upcycled project for patios and tables.
30 minutes2 min read
 Easy
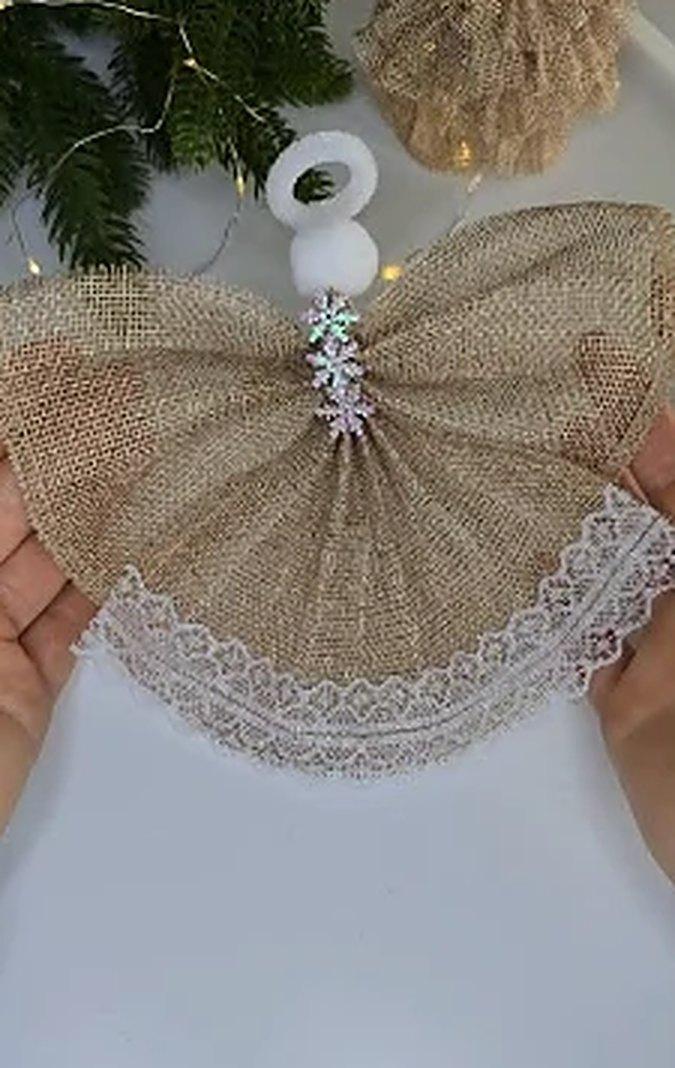
Burlap and Lace Angel Ornament
A rustic no-sew angel made from a gathered burlap ribbon, lace trim and a pom-pom head. Lovely on the tree or as a gift topper.
30 minutes1 min read
a little craft mail ✉
Get Creative With Us
Discover simple craft ideas and creative projects delivered to your inbox.
Send ideas to:
No spam. Unsubscribe anytime. See our Privacy Policy.